An airbrush is an economical solution for priming your miniatures easily. Like spray cans, an airbrush offers great precision, and you only need an airbrush, a compressor, paint, and thinner to spray paint onto your miniatures.
Which Airbrush for Priming Miniatures?
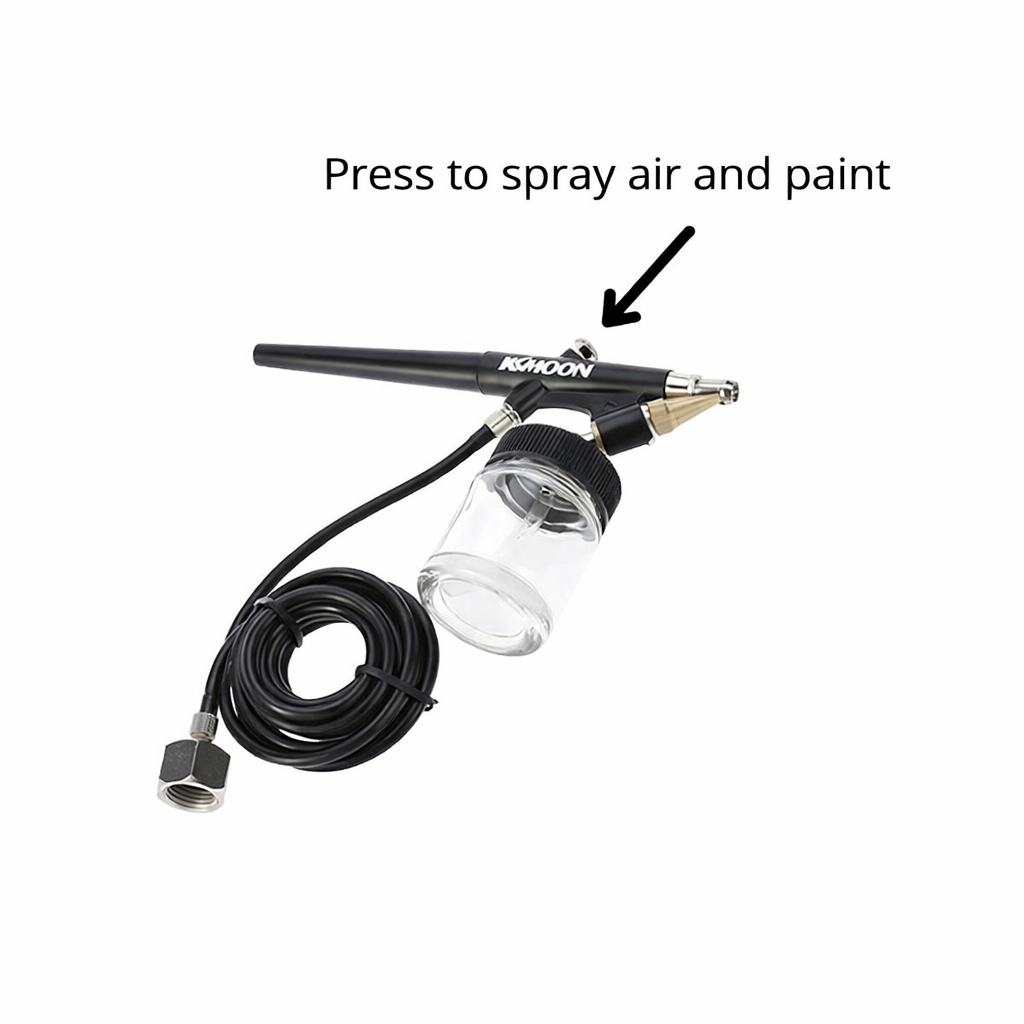
Single-Action Siphon-Feed Airbrushes
Spray cans can be used for priming miniatures, but they come with several drawbacks. Brand-name spray primers are expensive, which increases the cost of painting, and budget spray cans contain low-quality paint that will deteriorate over time or won’t adhere properly. An airbrush lets you choose which paint to spray and saves you money in the long run.
Siphon-feed airbrushes allow you to cover large surfaces thanks to their paint containers. Simply press the trigger to release the airflow and use a separate control — usually located under the paint needle or on the handle — to adjust the desired paint flow. A constant paint flow makes them fairly easy to use and lets you focus on controlling the air supply.
If you only want to do priming, we recommend a dedicated siphon-feed airbrush for the job.
- Easy to use
- Large paint capacity
- Requires more maintenance
- Affordable
Dual-Action Gravity and Siphon-Feed Airbrushes
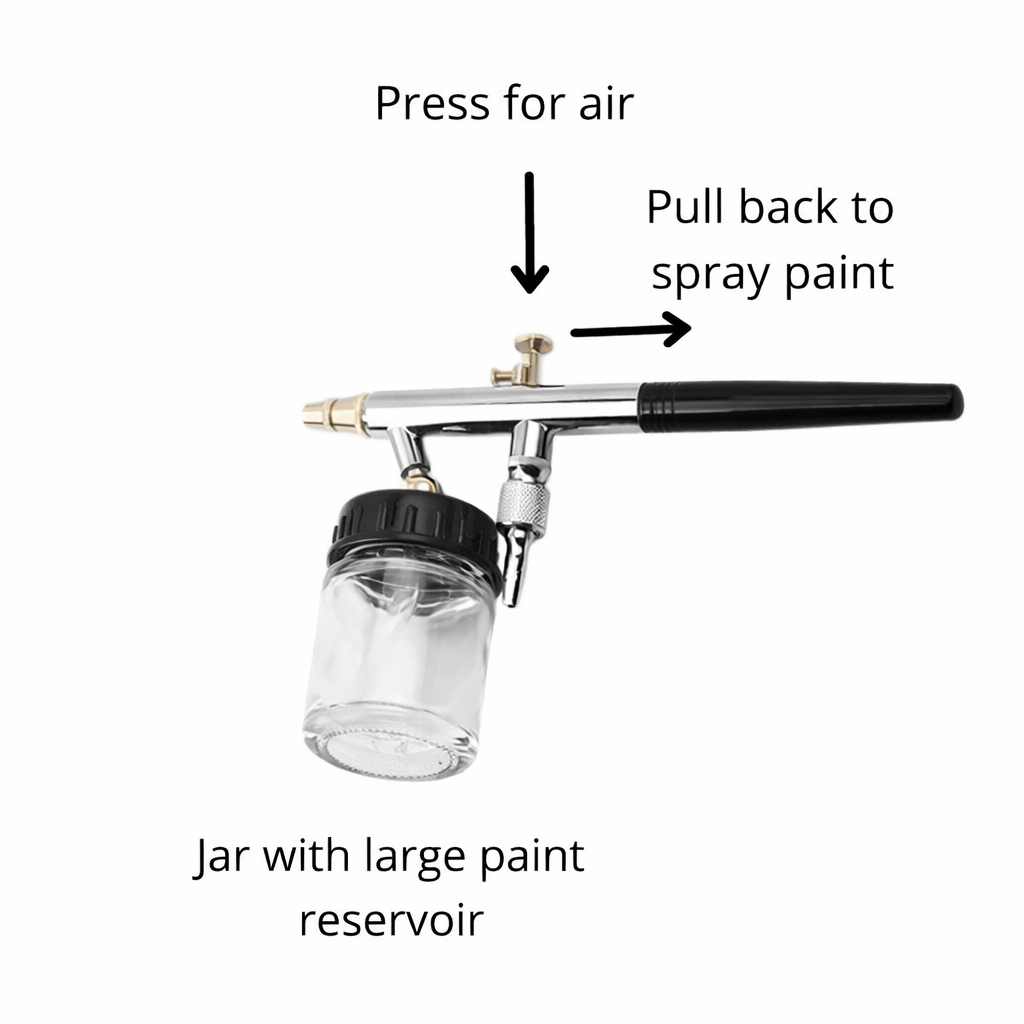
Dual-action airbrushes provide an adjustable paint flow, making it easy to create effects. They come in gravity-feed or siphon-feed variants. The most common are gravity-feed airbrushes, thanks to their ease of use and cleaning, and the ability to mix colors directly in their cups.
We’ve put together a guide to help you choose the best airbrush for painting Warhammer miniatures and how to paint miniatures with an airbrush.
How to Prime a Miniature with an Airbrush?
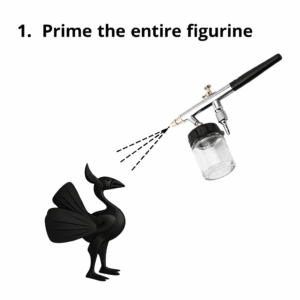
You need to put thinned paint into the airbrush cup and spray paint (black, white, or grey) over the entire miniature.
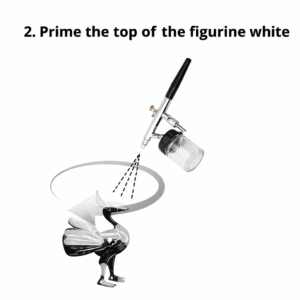
If you want to add shading to easily define the volumes, simply spray white paint on the top of the miniature. Here’s a tutorial:
1. Prime the entire miniature with the airbrush
2. Spray white paint for contrast, keeping the same angle.
Tips for Thinning with Water
- Put the colors in the paint cup and use an old brush to mix them.
- Use paper towels and an ammonia-based cleaning solution or ready-made cleaners.
- Wear gloves to prevent paint from getting on your fingers.
- Of course, there are several other ways to thin acrylics, such as using a flow improver, an airbrush thinner, or another product, but for beginners, water will do just fine.
What About Compressor Noise?
There are generally two main types of compressors: those with a tank and those without a tank.
Compressors with a tank are generally more practical. The air empties when you press the airbrush trigger and refills when the tank is empty. This means you always have a steady supply and a constant flow of air. On the other hand, with a tankless compressor, a pulse of air comes out of the hose continuously.
As I’ve already mentioned, I recommend buying a compressor with a tank. It may cost a little more than tankless models, but if your budget allows it, go for it.
How Much Space Does a Compressor Need?
Generally, a compressor with the cord coiled up is about the size of two shoeboxes stacked on top of each other. Airbrushes, on the other hand, take up as little space as a few ballpoint pens.
You can also invest in a spray booth to avoid getting paint on your walls and to prevent paint from damaging your belongings. Obviously, you can’t rely on a fan and an open window to direct harmful fumes outside forever.
Painting Your Miniatures with an Airbrush — Painting Tips
1. The Right Paint Consistency
First and foremost, you need to make sure you’re mixing your paints to the right consistency. Ideally, you should push a little paint from the bottom of the airbrush cup up to the edges.
The ideal consistency is when the paint can flow down the side of the cup without leaving a trace. This simply means your paint is thin enough to start airbrushing.
If you notice your paint is still thick and can’t flow, sticks to the side of the cup, moves very slowly, or leaves a trail behind it, that’s a sign you need to thin your paint.
Just add a little water or airbrush thinner to achieve the ideal consistency.
2. Set the Air Pressure
The next step is to set the airbrush pressure. For pre-thinned paint, you should aim for a pressure of 12–18 PSI to start painting your miniatures.
As a general rule, the thicker the paint, the higher the pressure.
Once you’ve applied the primer to your miniatures, let it dry for a while. Once it’s completely dry, choose your paint and start painting!
3. Ideal Painting Distance
It’s important to note that you need to maintain an ideal distance from your model while painting.
There’s no strict rule about this — you’ll be able to figure it out yourself by how the paint behaves when it lands on the model’s surface.
If you notice the paint splattering or spreading, that’s a sign you’re too close. On the other hand, if it atomizes on landing, it means you need to move closer to the model.
I hope you find this article helpful. Happy priming and happy airbrushing, fellow hobbyists!